Item Statuses
- Yves Riel
- sidharth sharma (Unlicensed)
Checklist allows you to assign statuses to items. You can configure the list of available statuses and their behaviour from the Statuses page in the admin section of JIRA.
To create/view status for Checklist, ensure that you have administrator rights in JIRA and that you can access the administrative menus.
Viewing Status
To view the statuses, perform the following steps:
- Navigate to Settings > Add-ons > Item Statuses.
You can view the list of statuses.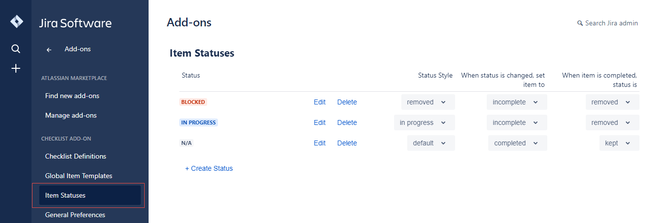
Creating a Status
To create a new status, perform the following steps:
- Navigate to Settings > Add-ons > Item Statuses.
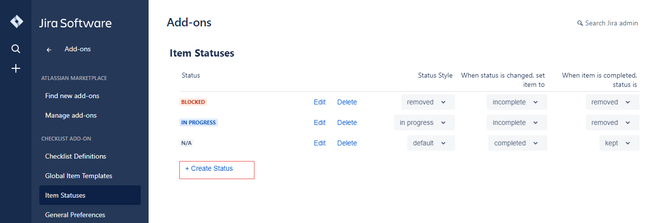
- Click Create Status.
- Type the name of the status. The new status is automatically added to the list of available statuses.
Status Configuration
Besides the name for a status, the look and feel, and behavior of status can be configured.
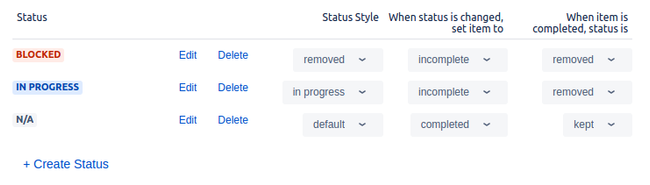
Status Style | This option allows you to set the colour of the status' label to any of JIRA's official status styles:
|
|---|---|
When the status is changed, set item to | This option allows you to set the completion state of the item when the status is set. You can chose any of the following three choices:
|
When the item is completed, status is | This option allows you to set what happens to the item's status after the item has been marked as completed. You can chose any one of the following two choices:
|
Related content
© 2018 Okapya Software Solutions Inc