Importing data in a new Definition
BETA Feature
This feature is currently in Beta and is only available to selected customers. If you want to participate in this Beta phase, please contact us via our support portal.
The results of the operation depend on different aspects such as the data to import as well as both your source and destination Jira instances. Do NOT delete the Checklist custom fields (server) or Checklist Definition (cloud) from the Jira source until you make sure that all the needed information was imported successfully.
In case of critical errors, the process may abort of freeze. In this event or any other unforeseen circumstances please contact us via support portal.
It is possible to import a checklist definition with all its checklists from the Server version of the add-on, or from another instance of the Cloud. For this operation you will need the data files generated with the Export feature of the Server or Cloud versions of the Okapya Checklist for Jira add-on.
This page describes how to import data into a new checklist definition. This approach is safer, because the imported data is isolated from the existing data and you have less risk of accidentally overwriting or destroying your existing checklists. If you absolutely have to, there is also a possibility to import data into an already existing definition, though that process is more dangerous and has more restrictions.
Before you Begin
- Update your server instance with the latest version of Checklist Server. That will ensure that you have the latest version for the exporter and that the import will go smoothly.
- Export from the server, all the custom field contexts that you want to move to the cloud. Each exported context will create one or more files with the following name pattern customfield_<FIELD_ID>-<CONTEXT_ID>_<FILE NUMBER>. Group together the files where <FIELD_ID> and <CONTEXT_ID> are the same.
- Is is very important you ONLY upload files belonging to the same context (same <FIELD_ID> and <CONTEXT_ID>). Doing otherwise will lead to undesired and unexpected results and will result in having to redo the import.
- When uploading a custom field context from the server, the cloud will create a new Checklist Definition that will match the custom field context.
- If the context is limited to specific projects and that not all of those projects are found in the cloud, the Cloud Checklist Definition context will be marked as "All Projects" and/or "All Issue Types".
- Some features from server are not exported (assignee, priorities, due date, advanced markdown, access permissions)
- Cloud does not support headers section yet. So headers are exported as normal checklist items.
- Statuses are not on a per checklist definition like on the server. So all statuses are exported to the Status page and will be visible to all issues. It is therefore best to ensure that similar statuses are renamed exactly to identical names on the server before being exported.
- If you migrate in steps, make sure that you only select specific projects during the server export.
- If, during the import, some projects are not found, all the checklists for these issues will be skipped.
- The import can be a long process so please be patient. Each import is placed in a queue and we process one import at a time. So depending on the number of people trying to import and the size of the import, it can take hours to even days.
To import a definition
- Navigate to Settings > Apps > Checklist Definitions, and click the '+ Add definition' button:

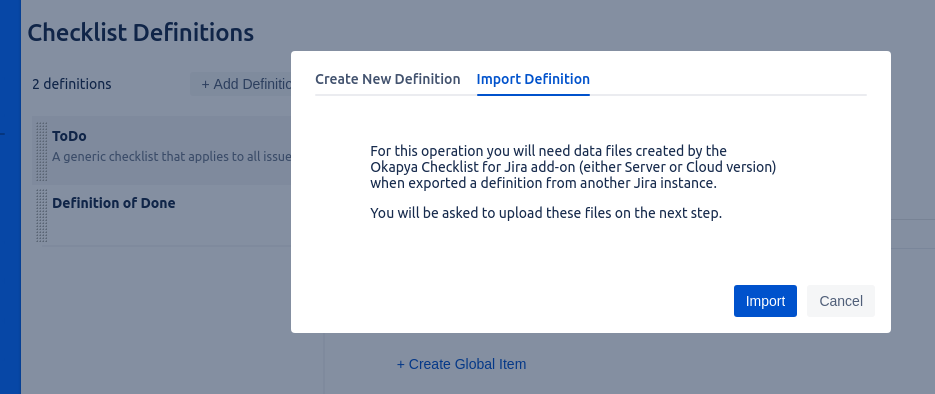
- In the modal window switch to the 'Import definition' tab and click 'Import':
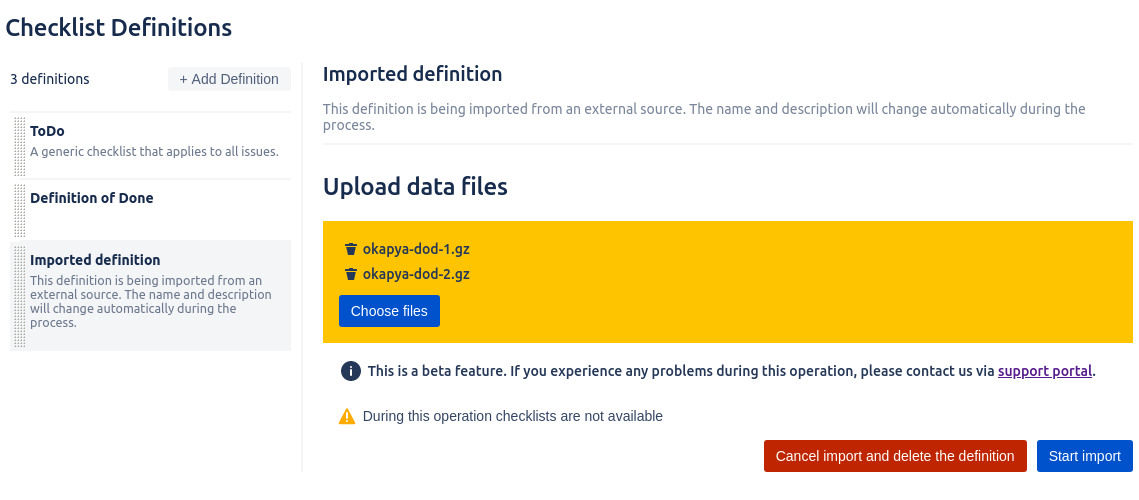
A new definition will be created, and you will see the files upload page. - Upload all data files, and then click the 'Start Import' button:
The page will show the import progress: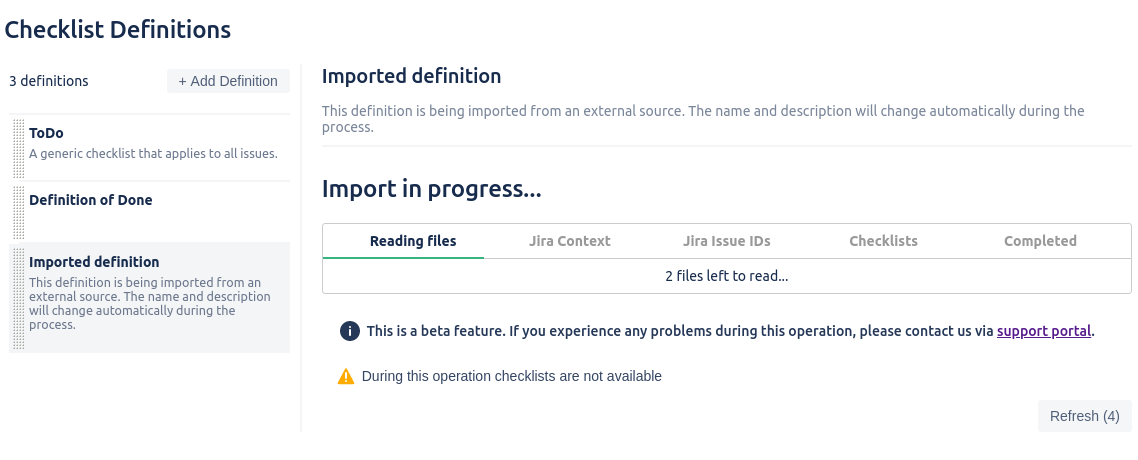
Depending on the number of imported checklists the operation may take from a few minutes up to a few hours. During the import process, on the issue view, you may see new checklists that are not yet available: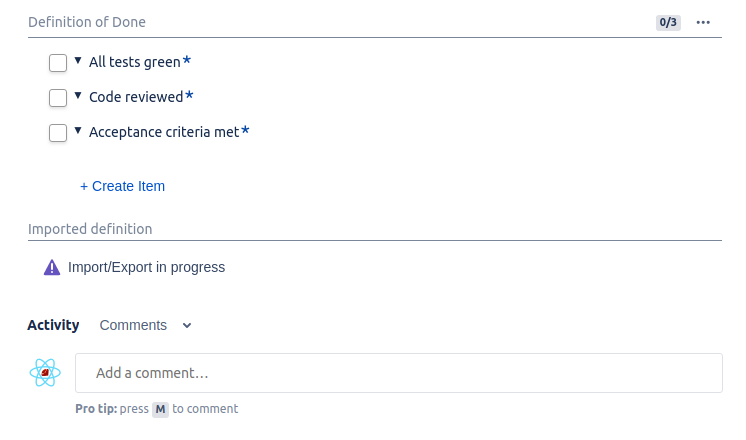
These are unavailable until the import process is completed in order to prevent data discrepancies.
When the import is completed, review the errors and warnings (if any), and then click 'Finish the import and enable the definition'.
Warnings and Errors
Please note that for the import process to be successful, the destination and source Jira instances should have the same:
- Project keys
- Issue type names
- Issue keys
In case of discrepancies, you may encounter the following messages:
Missing Context (Warning)
If some projects or issue types of the definition's context cannot be found in the destination Jira, you will see the following warning:
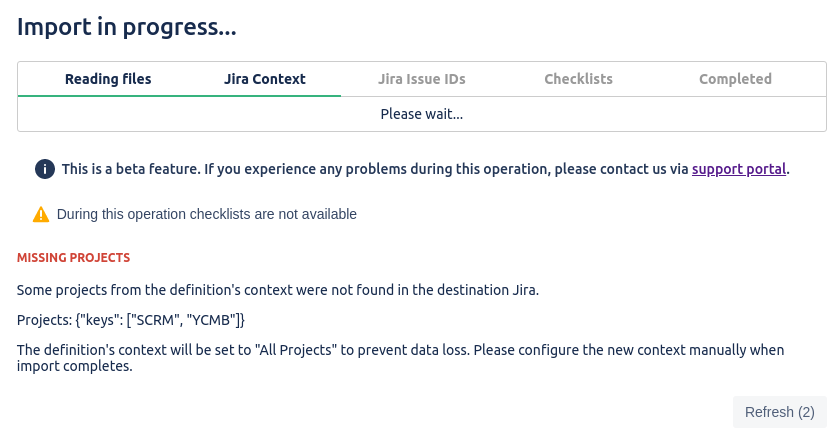
The definition will still be imported, but its context will be set to "All" in order to prevent accidental data loss. Please adjust the context manually after the import is finished.
Missing Issues (Warning)
If some issue keys cannot be found in the destination Jira, the corresponding checklists will not be imported. In this case you will see the following warning:
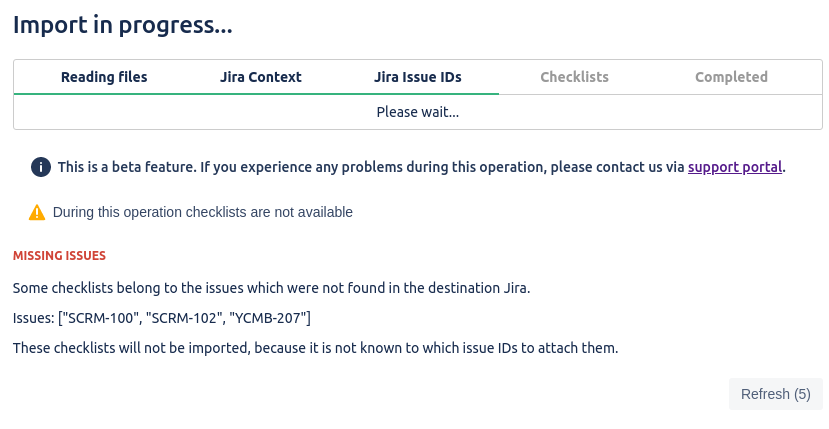
Other checklists, for which the issue keys were found, will be imported as usual.
Error
If an error occurs during the import process, you will see this:
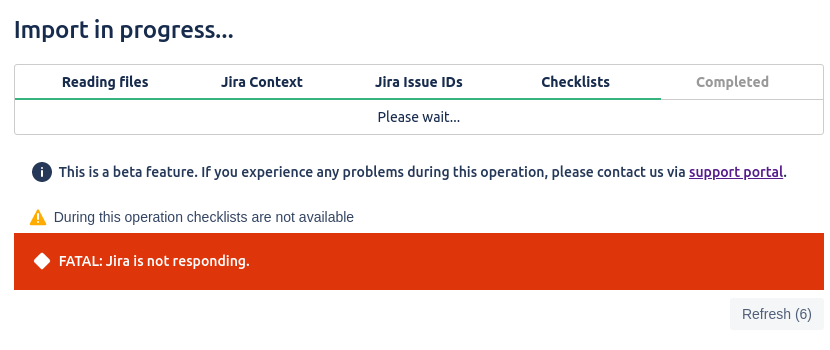
Such an error usually means that the import process was affected severely. Significant data loss is possible, or the process cannot continue at all. In such cases please contact us via our support portal.
© 2018 Okapya Software Solutions Inc