This documentation is for version 4.x. For the latest documentation, click here
Editing a Checklist
Global vs Local items
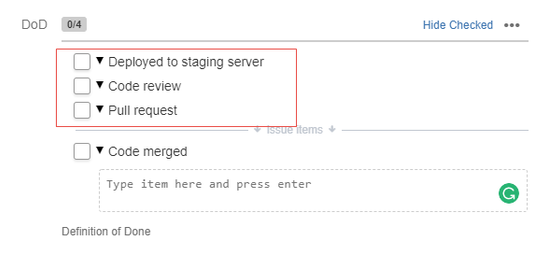
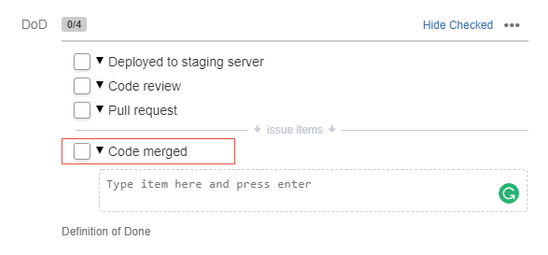
Checklist allows you to create items that are global to all issues meaning that every global item that you create, update, or delete is immediately reflected in all the issues that match the custom field context. This provides a great tool for enforcing processes across all issues. Parallel to global items, you can also create local items that are specific to an issue. This allows users to complement Checklists with items that have only meaning within the issue.
Global items are added as Options in the Checklist Configuration Page. You can add a local item while editing a JIRA issue.
Properties of global items:
- Set status
Mark the status as completed
You must be an admin user to update/delete a global item.
Properties of local items:
- Set status.
- Update item.
- Delete item.
- Reorder item.
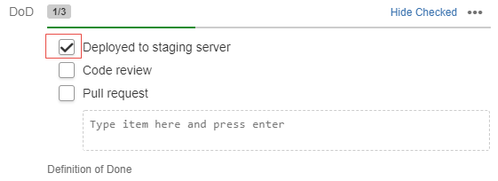
Marking an item as completed
In the edit mode, you can change the state of a Checklist item by selecting the check box beside the item. The system toggles the check mark inside the box to set the item as completed or not. When the item cannot be edited, clicking the text also toggles the check mark.
IE 9 and 10 issue
Following an inline edition, IE 9 and 10 might have difficulties with clicking on the the check box. If you have trouble clicking the check box, click in the upper half of the check box.
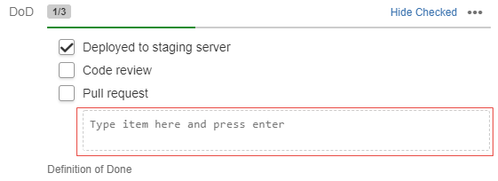
Adding an item to the issue
To add a Checklist item to the issue, focus on the text area underneath the list and start typing. Press the Enter key to convert the text into a Checklist item.
The markup syntax used in Checklist-V2 can be used as well in order to initialise the Checklist item at the same time without leaving the text area.
| Typing | Generates | Comments |
|---|---|---|
* Item 1 | Creates a mandatory Checklist item. Equivalent to not typing the asterisk at all. | |
| ** Item 2 | Creates a mandatory Checklist item but checked. | |
| (*) Item 3 | Creates an optional Checklist item. | |
| (**) Item 4 | Creates an optional Checklist item but checked. |
Editing an item
To edit local items (to the issue), perform the following steps:
- Click anywhere on the text or on the pencil icon that appears when you move over the item.
This opens the inline editor where you can change the text but also make the item mandatory or delete it.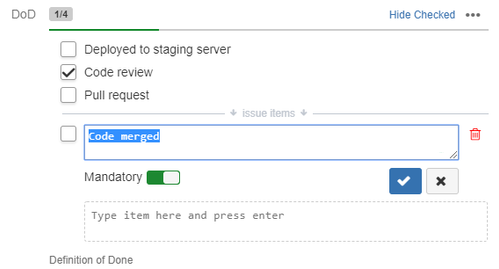
- Click Save or anywhere outside the editor to commit the changes.
To cancel the changes, click Cancel.
The global items which cannot be edited are always displayed at the top of the list and do not show a pencil icon when moved over.
Reordering items
You can reorder items which are local to the issue. To do so, move over an item, click and hold the drag bar, and move the item to the desired position.
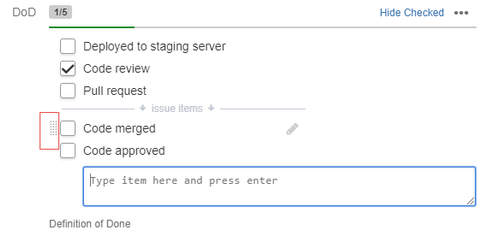
You cannot move an item to the top when global items are present in the Checklist.
You can actually drag an item by clicking it anywhere. You do not need to absolutely use the drag bar.
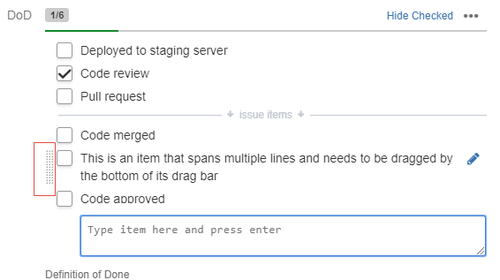
When dragging an item which spans multiple lines, you might encounter some difficulties moving the item to the desired position. If you have items that spans multiple lines and want to move an item down, click the bottom of the drag bar. Similarly, click at the top of the drag bar to move the item up.
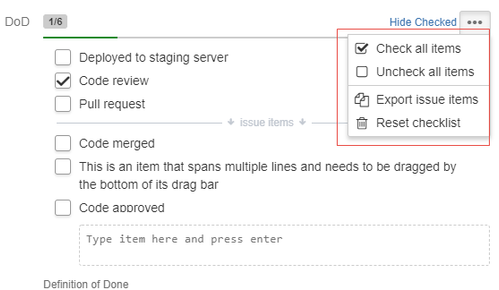
Bulk operations (Check, Uncheck, Reset)
You can select and deselect all the Checklist items in one step by accessing the gear menu at the top right corner. You can also reset the Checklist which removes all the items and reset the global items.
Restricting edition of items
If you want to prevent anyone from modifying Checklist items (add, remove, modify text), you can set the role that a user must have from the configuration page. By doing so, you can allow/disallow a user's access to the inline edit mode. Users that do not have the edit role can mark items as completed and set their statuses.
On top of assigning the role, you can set the parameter that allows the reporter of the issue to edit the items even if he is not a member of the editor role.