This documentation is for version 4.x. For the latest documentation, click here
Validating a Checklist
- sidharth sharma (Unlicensed)
- Maxime Lefebvre
- Yves Riel
Transition between workflow statuses can go through a validation phase to determine if the transition can go on. To learn more about Configuring Workflows and Workflow Validators, refer to the Atlassian Documentation.
Checklist ships with a Workflow Validator that can be used to enforce Checklist completion before a workflow transition. The validator is called Checklist Validator and can be customized.
To validate a Checklist, ensure that you have administrator rights in JIRA and that you can access the administrative menus.
To validate a Checklist, perform the following steps:
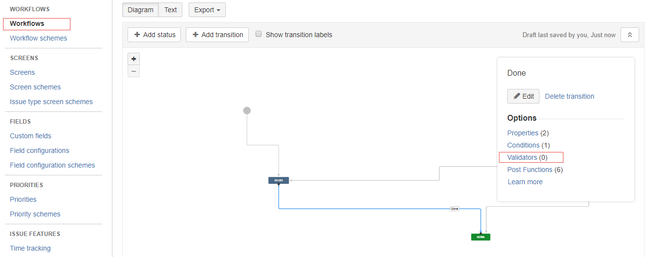
- As an admin user, navigate to Issues > Workflows, edit an existing workflow to locate the transitions, and click Validators.
- Click Add validator.
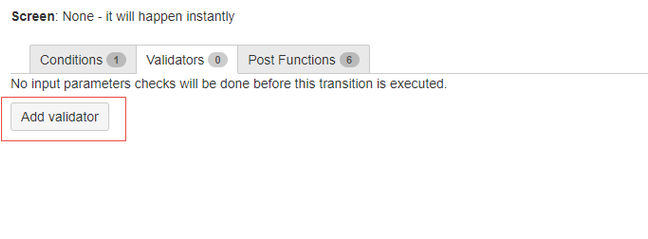
The system displays the Add Validator To Transition window.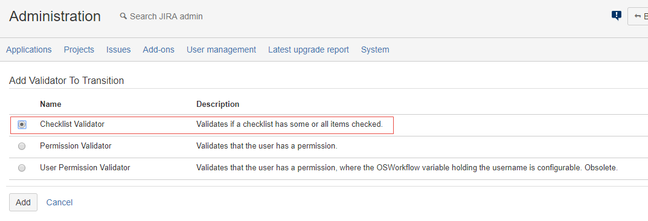
Select the Checklist Validator option and click Add.
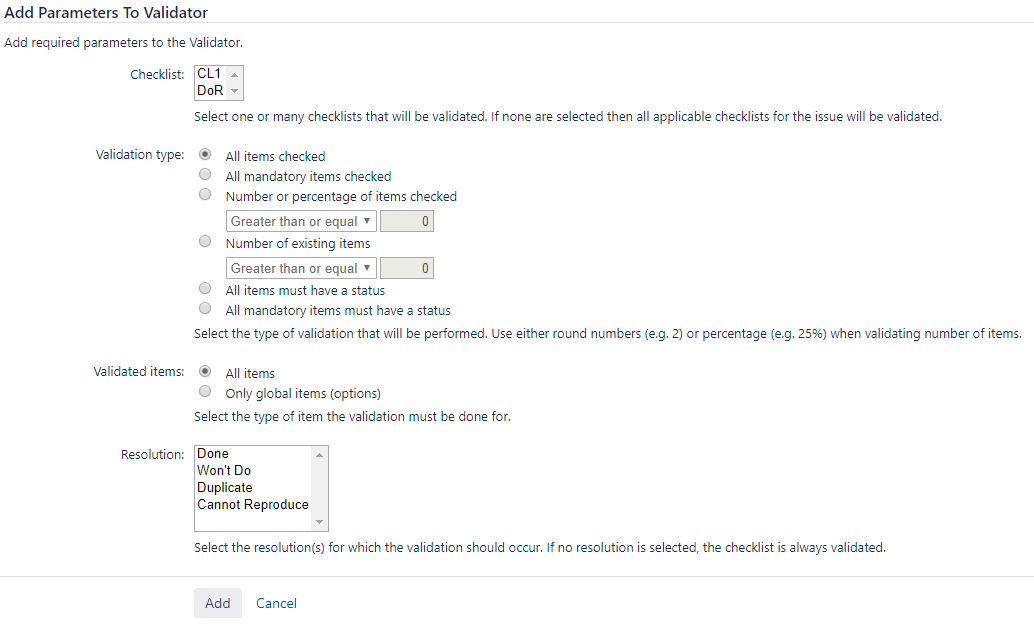
Checklist Select the Checklist(s) to which the validator must be associated.
Validation type Select if all the items are to be validated or only the mandatory ones. Select the type of validation that will be performed.
- All items checked. If you want all the items to be checked.
- All mandatory items checked. If you want all the mandatory items to be checked.
- Number or percentage of items checked. If you want to validate against a number/percentage of the items that are checked. Use either round numbers (for example, 2) or percentage (for example, 25%) when validating the number of items.
- Number of existing items. If you want to validate against a number of existing items. Use round numbers (for example, 2) when validating the number of existing items.
- All items must have a status. If you want all items to have a status.
- All mandatory items must have a status. If you want all the mandatory items to have a status.
Validated items Select the type of item the validation must be done for:
- All items
- Only global items
Resolution Select the issue's resolution(s) for which you want to validate the Checklist. This is especially useful when you do not want the validator applied to issues resolved with the Won't Do resolution type. If no resolutions are selected, the validation occurs for any resolution. You can set the following resolution types:
- Done
- Won't Do
- Duplicate
Use this only if you have a screen that allows you to set the resolution during the transition. If you do not, the validator compares Unresolved with the selected resolution. Since there is no match, the validator lets the transition occur, thereby giving the impression that the validator is not working.
- Click Add.
When the validator is active and attached to a workflow transition, the validator prevents the transition when the Checklist conditions are not met.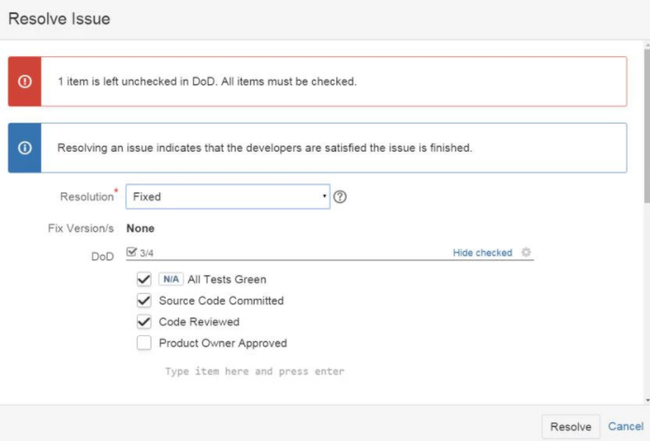
Do not forget to publish your edited workflow in order for it to take effect.