You need administrator rights in Jira to perform the tasks on this page.
When checklists are edited in Agile boards, any changes that are made are immediately committed and can generate emails that are sent to watchers. To avoid inadvertent modifications and an influx of emails, it can sometimes just be simpler to make checklists read-only in the Issue Detail View.
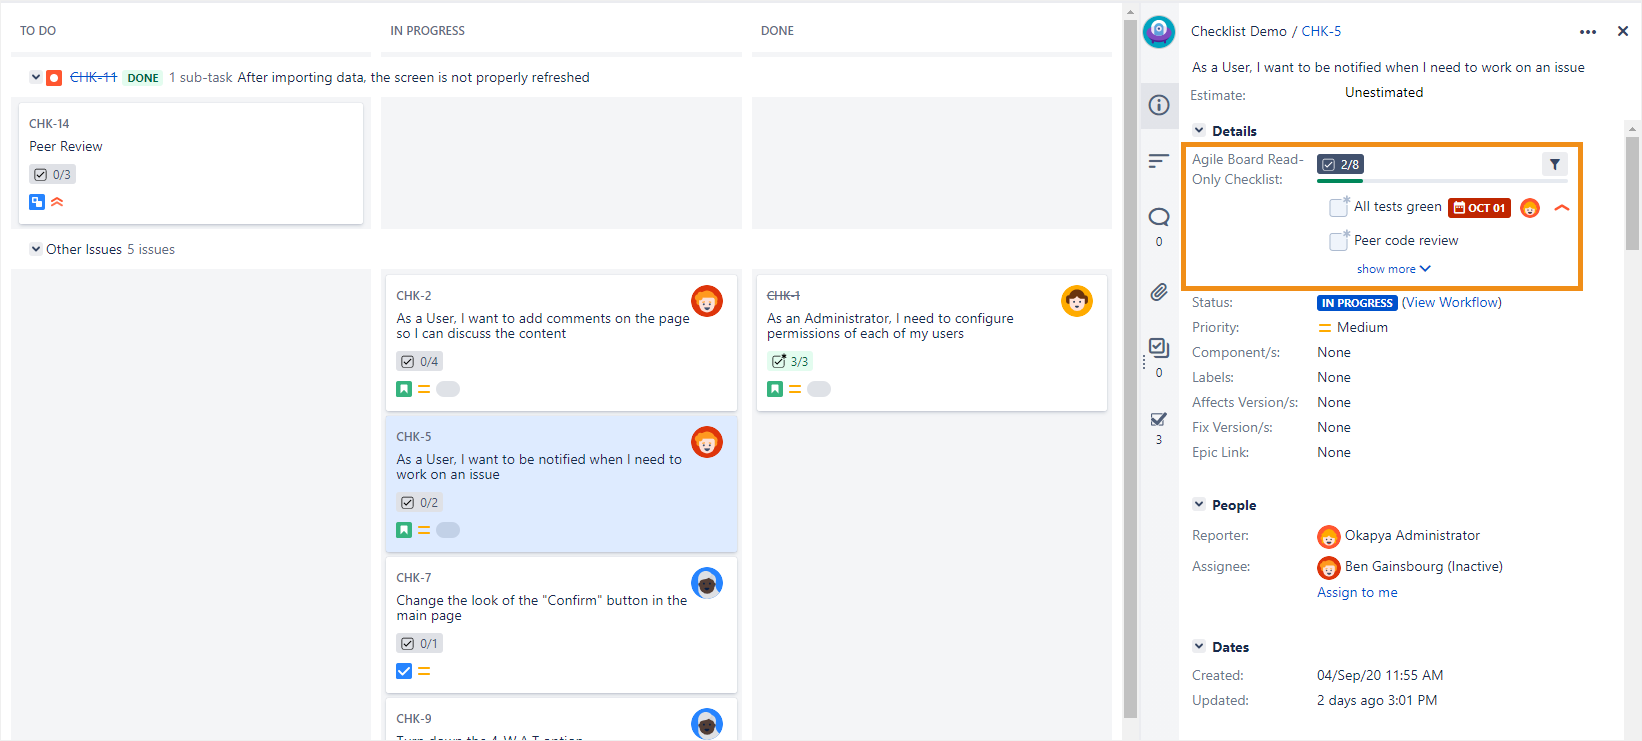
To do this, you will have to disable the Agile Details View module that makes checklists editable in Agile boards across the entire Jira instance. Be aware, though, that disabling the module also stops your checklists from rendering at all in the Issue Detail View. To get them back in read-only format, you will have to create a Checklist Read-Only Proxy for each Checklist custom field and manually add each one to the Issue Detail View.
Because disabling the module stops your checklists from rendering at all in the Issue Detail View, there’s no way to make some checklists editable and some read-only — you have to commit to either one or the other.
To make your checklists read-only in the Issue Detail View:
Disable the Agile Details View module within the Checklist app (for details, see Disabling the editing of checklists in Agile boards).

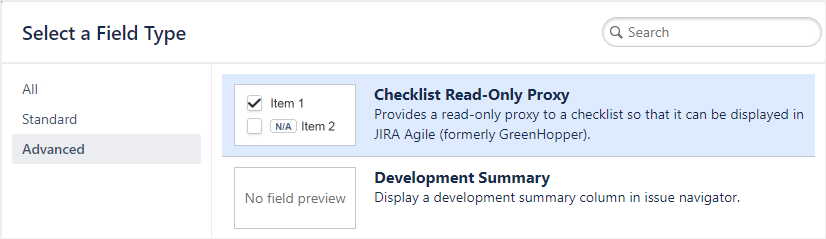
Create a new Checklist Read-Only Proxy custom field (for details, see Setting up a Proxy custom field).
Edit the proxy’s default value and select the checklist that it should display (for details, see Editing the default value).

Edit the proxy’s parameters and set the proxy type to Checklist (for details, see Editing parameters (Proxy)).

Repeat steps 2 to 4 so that you have one Checklist Read-Only Proxy for each checklist that you want to display in the Issue Detail View.
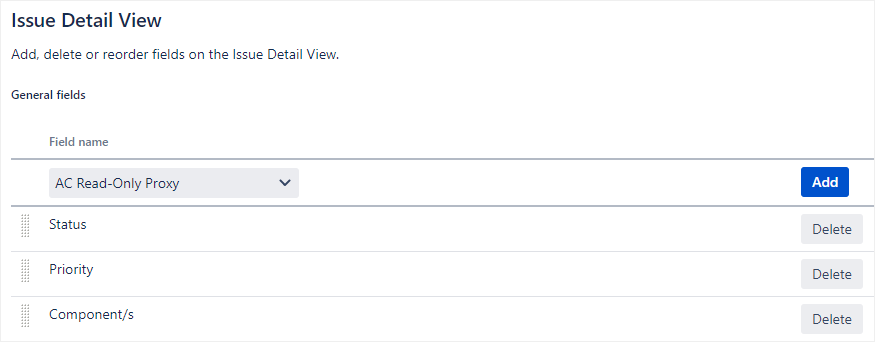
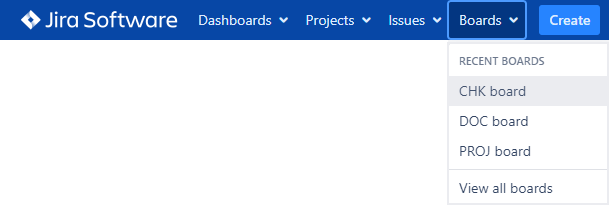
In the header, go to Boards and select the board that you want to edit.
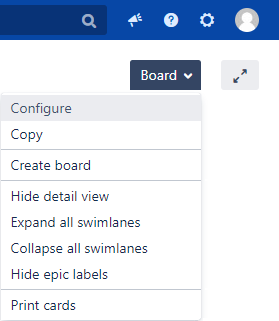
In the top right corner, click Board and click Configure.
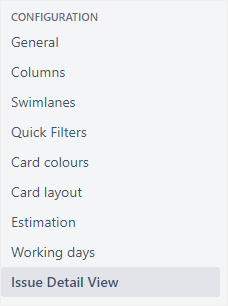
In the sidebar, go to Configuration > Issue Detail View.
In the General fields section, in the Field name column, select each Checklist Read-Only Proxy custom field that you created from the drop-down and click Add.