| Status | ||
|---|---|---|
|
| Note |
|---|
This feature requires that the Create Templates from Checklists setting be enabled. |
Templates contain a list of items that can either replace or be appended to the contents of a checklist. By appending multiple templates to a checklist, you can list all the required tasks without the risk of forgetting a step — meaning that you can focus on actually completing the tasks, instead of writing them down.
Templates that are created from existing checklists only include local items. Template items are created unchecked and unassigned, so you won’t accidentally bring over any old completion or assignment data. The rest of the items' data (name, order, due date, status, etc.) is kept.
Templates are shared across the entire project so that others can use them too. However, only the owner, an administrator or a project administrator can edit or delete templates.
| Info |
|---|
Are you an administrator? If so, you have a few additional ways to create templates. For more information, hop back over to the Administrator Guide and check out Working with templates. |
Creating templates from an existing checklist
To create a template from an existing checklist:
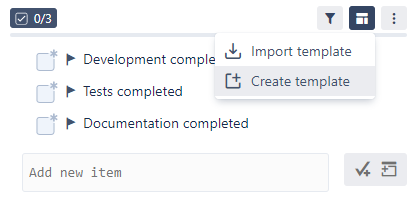
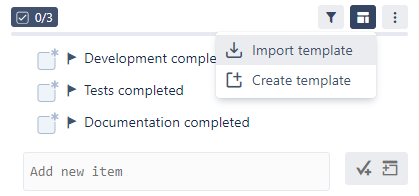
Click the Templates button at At the top right of the checklist, click the Templates button and select Create template.
In the Create template dialog that appears, enter a name for the template. If desired, you can also enter a description.
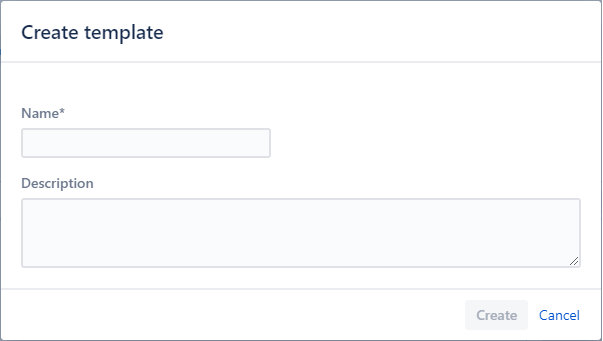
Click Confirm.
Creating templates manually
To create a template and checklist items manually:
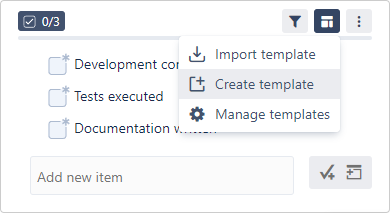
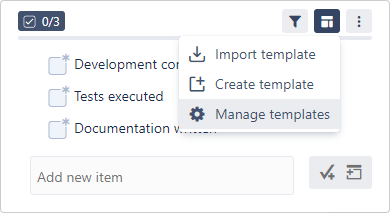
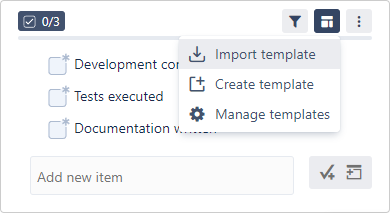
At the top right of the checklist, click the template menu and select Manage templates.
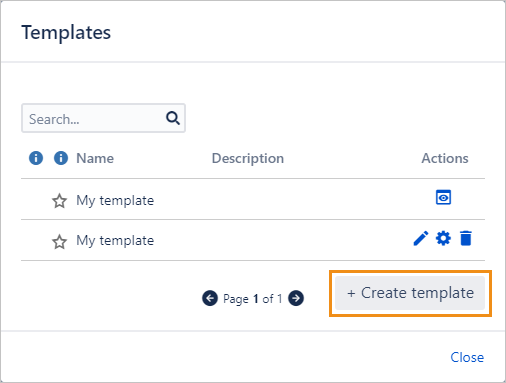
In the Templates dialog that appears, click +Create template.
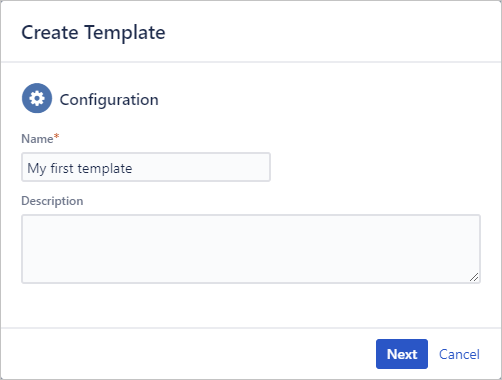
Enter the template name, and optionally a template description, and then click Next.
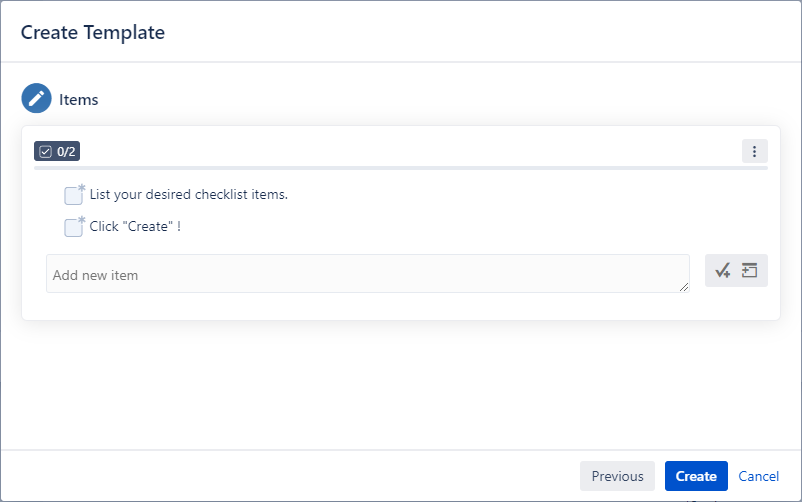
On the next page, fill out the template’s items and click Create.
Importing templates
To import a template into a checklist:
Click the Templates button at At the top right of the checklist, click the Templates button and select Import template.
In the Import template dialog that appears, select a template from the drop-down. A preview of the template will appear to show you the items that will be imported.
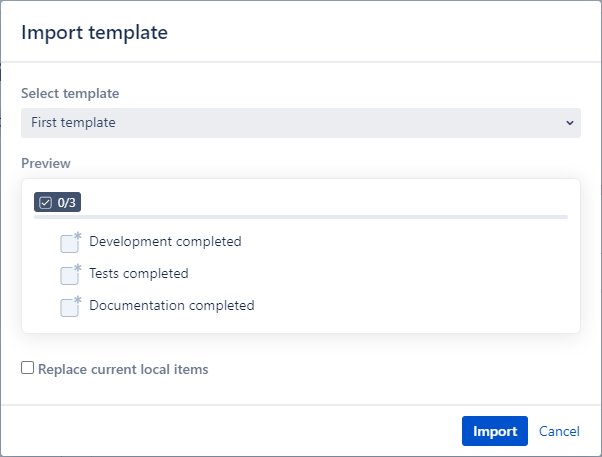
If desired, check Replace current local items to replace all the local items in the checklist with the items shown in the preview. If you leave this box unchecked, the items shown in the preview will be added to the end of the checklist.
Click Confirm.
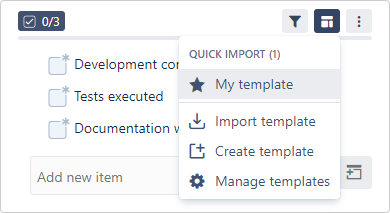
Adding/removing templates as favorites
You can add a template to your favorites, allowing you to quickly access it from the template’s drop-down. To add or remove a favorite:
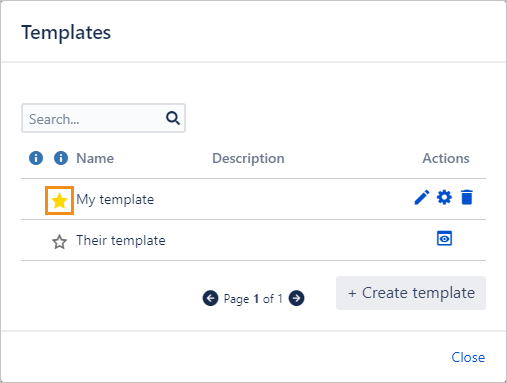
At the top right of the checklist, click the Templates button and select Manage templates.
Click the star icon next to the template(s) you want to add or remove as a favorite. A yellow star means the template is favorited, and a white star means it is not.
The template drop-down will reflect the changes made to your favorites list.