The Checklist Plugin offers a migration path for users who desire to move from Checklist Server to Checklist Cloud.
This feature is disabled by default, and must be enabled first as described at the beginning of this procedure.
Each Custom Field context needs to be exported separately and will be imported as a Checklist Definition in the Cloud Version
Procedure
Enable the Export Module.
Go in “Administration → Manage Apps”
Unfold “Checklist for Jira” App
Click on “44 of 45 Modules Enabled” to see Enabled Modules
Find “Checklist Export Feature Action” module and click button “Enable”
Navigate to the Custom Field list in the Jira admin section and select a Checklist Custom Field. From the Custom Field Configuration page, click on the “Export” button to open the export screen.
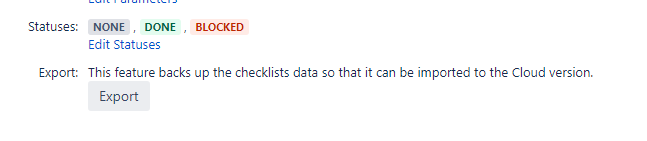
In the export screen, you will be presented with information pertaining to the exported package. Press “Export” to begin the process.
Destination path | Indicates the path where the exported file(s) will be located. |
File name | The uniquely identified file name that will be created for this Configuration Scheme export. |

4. Once the export is done, a success message will be shown.
If no file was created, this might be caused by read/write permissions on the destination folder. You can find more details about the error message in your Jira log file or console.
Since this feature is still in beta, please contact our support help desk so that we can enable the Import feature on your Cloud instance.